Hey there! As a supplier of Skid Steer Brushes, I often get asked about how to calibrate these bad boys properly. Calibration is super important because it ensures that your skid steer brush works at its best, giving you the most efficient and effective performance. So, let's dive right into it and learn how to calibrate a Skid Steer Brush like a pro.
Why Calibration Matters
Before we get into the nitty - gritty of calibration, let's talk about why it's so crucial. A well - calibrated skid steer brush will cut through vegetation smoothly, with minimal effort from your skid steer. It'll also help prevent uneven wear and tear on the brush, which means it'll last longer. If your brush isn't calibrated correctly, you might end up with an inconsistent cut, wasted power, and even damage to the machine over time.
Tools You'll Need
First things first, let's gather the tools you'll need for calibration. You'll need a torque wrench, a measuring tape, a set of wrenches, and a good eye for detail. These tools will help you make accurate adjustments and ensure everything is tightened to the right specifications.
Step 1: Check the Brush Height
The first step in calibrating your skid steer brush is to check the brush height. The height of the brush relative to the ground affects how it cuts through vegetation. You want to make sure the brush is set at the right height so that it can effectively cut the grass, weeds, or small branches you're targeting.
Use your measuring tape to measure the distance from the bottom of the brush to the ground. The ideal height can vary depending on the type of vegetation you're dealing with. For thick, tall grass, you might want the brush a bit higher, say around 2 - 3 inches above the ground. For shorter weeds, a lower setting of about 1 - 2 inches might be better.
Step 2: Inspect the Brush Teeth
Next, take a close look at the brush teeth. The teeth are what do the actual cutting, so they need to be in good shape. Check for any signs of damage, like chips or cracks. If you find any damaged teeth, replace them right away. You don't want a damaged tooth to cause an uneven cut or damage the rest of the brush.
Also, make sure the teeth are evenly spaced around the brush. Uneven spacing can lead to an inconsistent cut and put extra stress on the skid steer. If you notice any teeth that are out of place, use your wrenches to adjust them so they're evenly distributed.
Step 3: Tighten the Bolts
Now it's time to check and tighten the bolts. Over time, the vibrations from the skid steer and the cutting action of the brush can cause the bolts to loosen. Use your torque wrench to check the tightness of all the bolts on the brush assembly. Refer to the manufacturer's specifications for the correct torque values. Tightening the bolts properly will prevent parts from coming loose during operation, which could be dangerous.

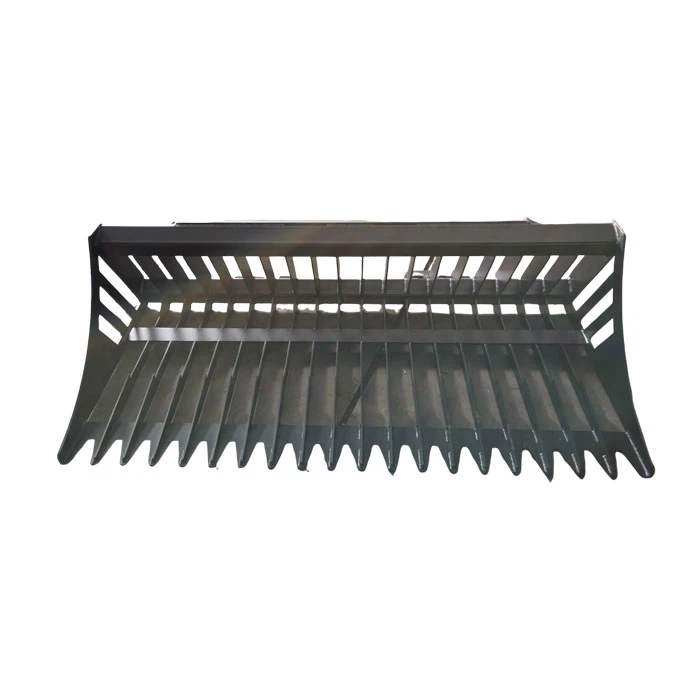
Step 4: Align the Drive System
The drive system of the skid steer brush is what powers the rotation of the brush. It's important to make sure the drive system is properly aligned. Check the belts or chains (depending on the type of drive system your brush has) for any signs of wear or misalignment.
If the belts are loose, you can adjust the tension using the tensioning mechanism. For chains, make sure they're properly lubricated and not too tight or too loose. A misaligned drive system can cause the brush to spin unevenly or even stop working altogether.
Step 5: Test the Brush
Once you've made all the necessary adjustments, it's time to test the brush. Start up your skid steer and engage the brush. Take it for a test run in a small area with the type of vegetation you'll be working with. Pay attention to how the brush cuts. Does it make a smooth, even cut? Are there any areas where the vegetation isn't being cut properly?
If you notice any issues, like an uneven cut or excessive vibration, stop the skid steer and go back to the previous steps to double - check your adjustments. It might take a few tries to get everything just right, but it's worth it for a well - calibrated brush.
Additional Tips and Considerations
- Regular Maintenance: Calibration isn't a one - time thing. You should regularly check and calibrate your skid steer brush, especially after heavy use or if you notice a change in its performance.
- Safety First: Always follow the safety guidelines when working on your skid steer brush. Make sure the skid steer is turned off and the brush is completely stopped before you start making any adjustments.
Related Skid Steer Attachments
If you're in the market for other skid steer attachments, we've got some great options for you. Check out our Brush Grapple for Skid Steer, which is perfect for grabbing and moving large amounts of brush and debris. Also, our Skid Steer Concrete Mixer Attachment is a great addition if you're working on concrete projects. And if you need to handle rocks and boulders, our Rock Grapple Bucket is a must - have.
Contact Us for Purchasing
If you're interested in our skid steer brushes or any of our other attachments, don't hesitate to reach out. We're here to help you find the right equipment for your needs and ensure you get the best performance out of it. Whether you're a professional landscaper or a DIY enthusiast, we've got the products and expertise to support you.
References
- Skid Steer Brush Manufacturer's Manual
- Industry Best Practices for Skid Steer Attachment Maintenance